


Here in New England, snow from the recent record-breaking storm is being washed away by torrential rain as I write this. Most nights still have frost, but the dreaded nighttime temperatures in the teens (oF) seem over. Although it’s still too cold and wet to work in the garden, it’s time to start plants so they’ll be large enough to move outdoors when the weather turns warm.
The first step in starting plants is to check the germination requirements for those you want to grow. The time needed for germination can vary significantly. Tomato, onion, and leek seeds take about a week to germinate, but pepper and eggplant seeds can take up to two or even three weeks, and some flower seeds are notoriously even slower. Some flower seeds have specific requirements, for example, Primrose seeds need near constant light to germinate. While you’re at it, check whether your seeds are for the current growing season because leftover seeds typically have a lower rate of germination. Although I’ve successfully germinated ten-year old tomato seeds, my leek seeds don’t seem to last more than a single season. Also, some seeds need to be stratified before planting, meaning exposed to cold in order to break dormancy. If that’s required for the seeds you want to plant, just put them in your refrigerator for about six weeks.
The next step in this process is to prepare your planting trays and potting soil. The trays must be clean. If you’re reusing trays, first scrub off any remaining soil and then dip them in a bucket of water containing bleach, which will kill off any surviving organisms. Also be sure to use good quality potting soil. Some packaged potting soils are simply ground wood chips with added fertilizer. So check the contents of the soil you intend to use. Good-quality mixes may include peat moss, ground coir, vermiculite, perlite, compost, and other ingredients that are beneficial. Do not use garden soil. It compacts easily and can dry into a hard cake that’s useless for germinating seeds.
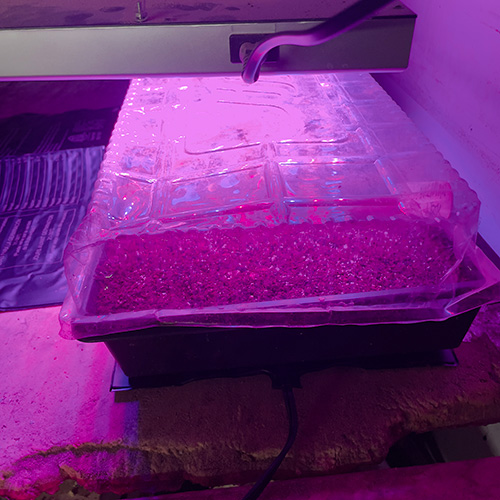
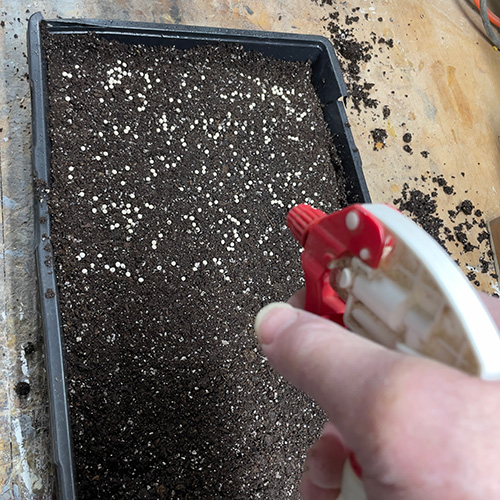
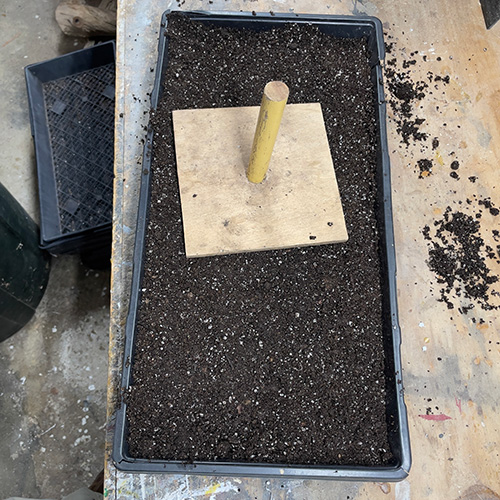
Once you’re ready to plant your seeds, think through beforehand the process you’ll use. I start by tamping down the potting soil in my seed trays with a special tool I made and then sprinkle the seeds directly onto the soil. I then spray the seeds with water and cover them with a little additional soil. Next, the trays are covered, either with the clear plastic lid that came with them or with kitchen plastic wrap. And finally, because I germinate seeds in my basement, I set the trays on a heat mat that keeps the bottom temperature around 70°F (21°C), and I put grow lights on a timer that leaves them on 12 hours a day.
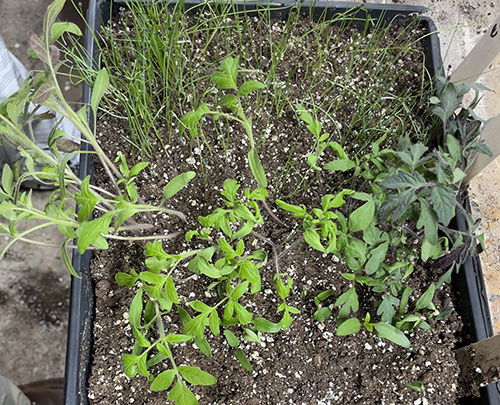
After germination, I remove the covers from the trays. A few days later I lower the heat-mat temperature and extend the lighting time to about 14 hours a day. When the seedlings are about 4 inches (100mm) high and are showing two true leaves, I transplant them to individual pots. Next, usually around early- to mid-April, I put these pots to my heated greenhouse, where they stay until moved to my unheated greenhouse in late April. Here they acclimate before their final outdoor garden destination in mid-May. Although this process may seem a bit elaborate, it gives me – and a lot of friends – large plants at the very beginning of the growing season.